22 July, 2014

madeleines à la noix de coco


The first time I remember making these madeleines was during my sophomore year of high school. I brought them to my AP Bio class, and after I passed them out, someone asked me if I was French. For some strange reason, I answered yes. 


France has somehow captured my heart, and I must subconsciously believe I'm French.


In any case, whether you're French or not, madeleines are easy to make and absolutely delicious. They are just like tiny sponge cakes in the shape of a shell. Whether for an afternoon treat or a light dessert, madeleines are a perfect sweet. 


While traditional madeleines don't have coconut, Ina Garten says it's a good thing. And I wholeheartedly agree with her. 


madeleines à la noix de coco

makes 24 madeleines


1 1/2 tbsp melted butter, to grease the pans
3 extra-large eggs, at room temperature
2/3 cup sugar
1 tsp pure vanilla extract
1/4 lb unsalted butter, melted and cooled
1 cup all-purpose flour
1/4 cup cornstarch
1/2 tsp baking powder
1/4 tsp kosher salt
1/3 cup sweetened shredded coconut
Confectioners' sugar

Preheat the oven to 375 degrees. Thoroughly grease and flour the madeleine pans.

In the bowl of an electric mixer fitted with the paddle attachment, beat the eggs, sugar, and vanilla on medium speed for 3 minutes, or until light yellow and fluffy. Add the butter and mix. Sift together the flour, cornstarch, baking powder, and salt, and stir into the batter with a rubber spatula. Stir in the coconut.

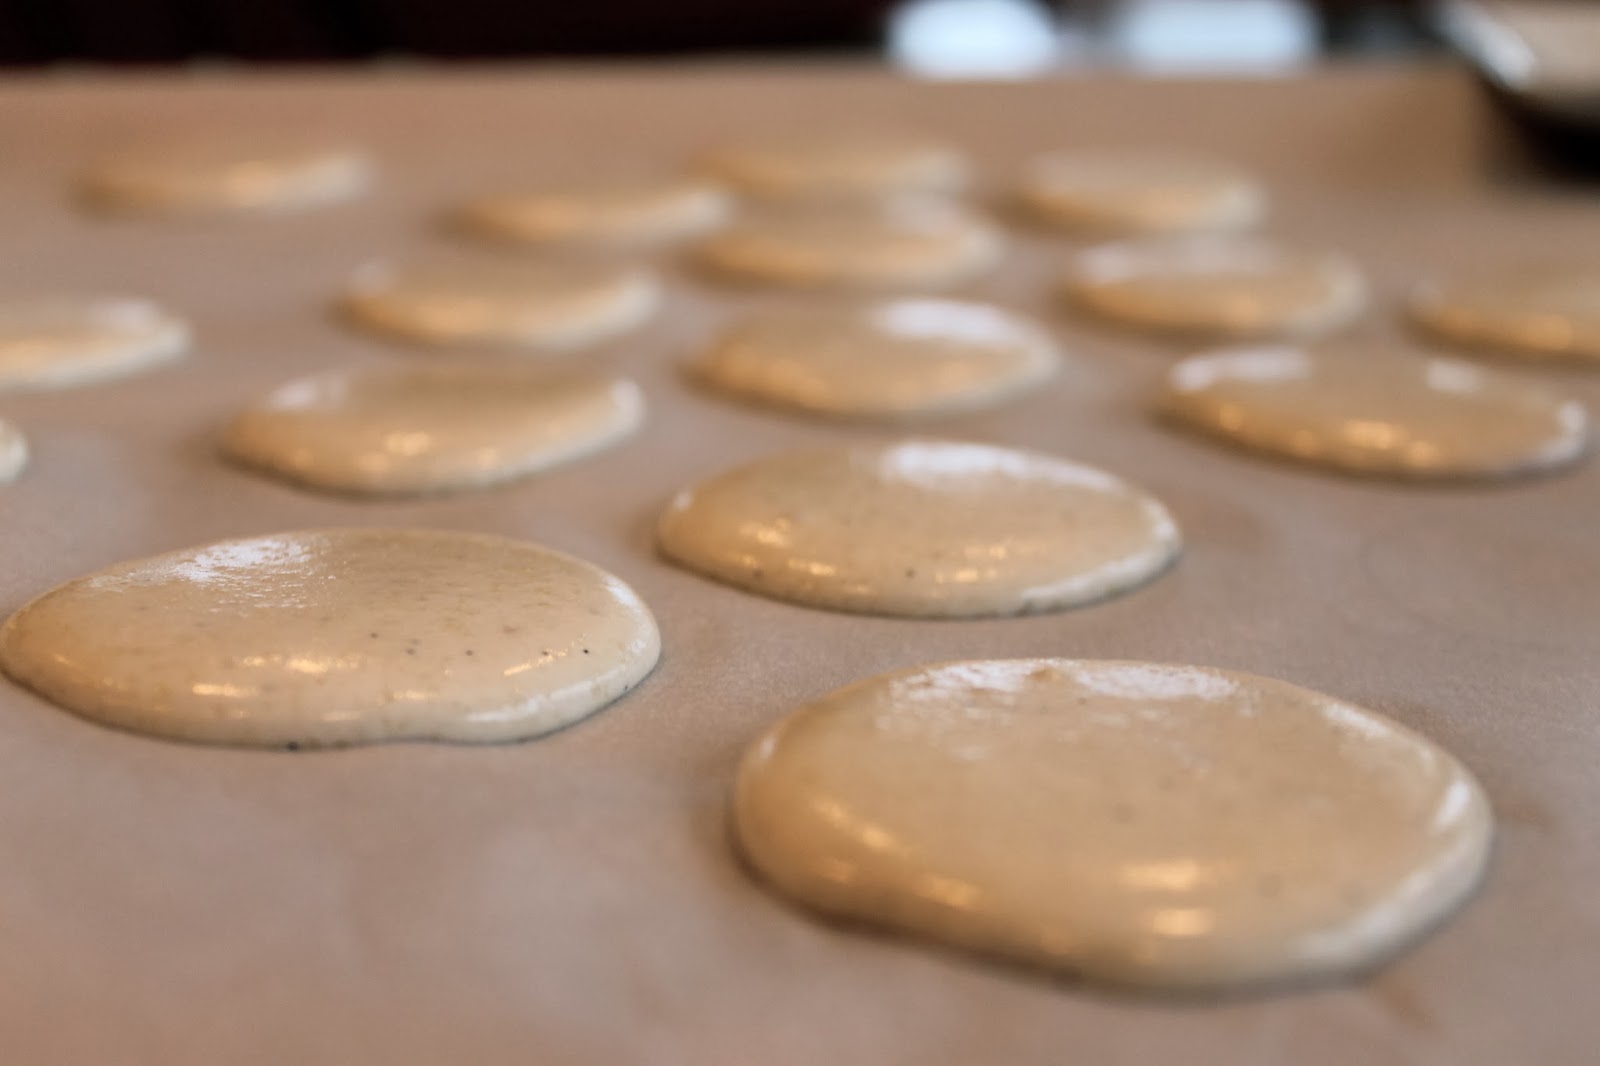
With a soup spoon, drop the batter into the pans, filling each shell almost full. Bake the madeleines for 10 to 12 minutes, until they spring back when pressed. Tap the madeleines out onto a baking pan lined with parchment paper and allow to cool. Dust with confectioners' sugar, if desired.

source: Barefoot in Paris, Ina Garten

notes: You can also grease the pan with a stick of butter, but I used a pastry brush to spread the melted butter. Make sure to grease it well!

I used large eggs, which works fine.

I have also dipped these in chocolate. Either way is delicious!

14 March, 2014

chocolat chaud


Our first evening in Paris, we chose to have a light dinner at Angelina's. I enjoyed crispy duck with fig chutney, and my mom had a fantastic cheese plate. Instead of one of their many desserts, we opted for their famous chocolat chaud, which arrived in a beautiful gold and white teapot. Let's just say that I was blown away.


The direct translation of chocolat chaud is hot chocolate, but it's hard for me to admit that. Because hot chocolate is associated with watered-down Swiss Miss. And this old-fashioned French stuff is anything but that- it's rich, indulgent, and deliciously foamy.


Chop up your chocolate of choice with a serrated bread knife and you'll have these lovely shards for melting.


Once the milk/water/sugar mixture has come to a boil, whisk in both forms of chocolate.


Et voilà, chocolat chaud. 


When I was trying to decide which cup and saucer to serve it in, I chose the gold and white one because it reminded me of the china at Angelina's. And guess what I discovered- it's from France! And my mom found this set at Goodwill. How cool is she?!


I know, I should have made this a couple weeks ago before all the snow melted. Especially considering that it was Iowa's coldest winter in 45 years, according to today's Des Moines Register. But it's Iowa, so we all know that there will be another cold snap and/or snow before it's officially spring. So when that day comes, whip up a small batch of this and it will warm you right up.


By the way, it's completely necessary to serve it in a cup and saucer. A mug won't cut it.


chocolat chaud

serves 2-4

1 1/8 cups whole milk
1/8 cup water
2 tbsp granulated sugar
1/2 bar (50g) quality bittersweet dark chocolate, chopped with a serrated bread knife
2 tbsp cocoa powder

In a 2-quart saucepan, stir together milk, water, and sugar. Bring to a boil over medium heat. Add the chopped chocolate and cocoa and bring to a boil again, whisking. Remove from heat. Add mixture to a blender, and blend for a minute or so until thick and foamy.

note: My Pyrex had a line for 1/8 cup, so that's what I used. But 1/8 cup also equals 2 tbsp.

source: slightly adapted from The Food Network, which claims its source as Pierre Hermé (the real reason I tried this version)

02 March, 2014

macarons vanilles, troisième partie


AHHHHH. Macaron perfection, courtesy of Martha Stewart. The lovely March edition of Martha Stewart Living arrived at our house a couple weeks ago in the middle of my macaron frenzy. I was already working on a basic recipe in one of my cookbooks, but I thought I should give her version a try. No aging of egg whites, no altering of baking temperatures while the shells are in the oven. It was straightforward, and I liked that. AND IT WORKED.


One of the key things I've learned is that sifting is necessary. It breaks up clumps in the flour mixture and makes for smooth macarons.  


This recipe has a little bit of copper food coloring and lovely flecks of vanilla bean added to the meringue.


Taste test at this point is absolutely necessary.

Next, is the macaronnage step, where you fold the flour mixture into the meringue. I think I was so focused I forgot to take a picture...

But here are the mini ones all piped out!


And the larger ones, fresh out of the oven.


And the finished product. I almost want to make another batch today- I am so excited! And now I have millions of flavors to test with this recipe.


Can I just say that I've always loved Martha Stewart? I actually had a dream once that we were friends. And I refer to her as Martha, as if we are friends. And after this batch of vanilla bean beauties, I love her even more.


macarons vanilles avec un glaçage vanille

vanilla bean shells:

total time: 1hr 30min

3/4 cup almond flour
1 cup confectioners' sugar
2 large egg whites, room temperature
1/4 cup granulated sugar

Preheat oven to 350 with rack in lower third. Place almond flour and confectioner's sugar in a food processor; process until combined, about 1 minute.

Pass almond mixture through a fine-mesh sieve. Transfer solids in sieve to food processor; grind and sift again, pressing own on clumps. Repeat until less than 2 tablespoons of solids remains in sieve.

Whisk egg whites and granulated sugar by hand to combine. Beat on medium speed 2 minutes. Increase speed to medium-high and beat 2 minutes. Then beat on high for about 5 more minutes.

The beaten egg whites will hold stiff, glossy peaks when you lift the whisk out of the bowl. Add seeds from the vanilla bean and a small amount of copper food coloring. Beat on highest speed for 30 seconds.

Add dry ingredients all at once. Fold with a spatula from bottom of bowl upward, then press flat side of spatula firmly through middle of mixture. Repeat just until batter flows like lava. You don't want it to retain its 3D shape, nor be too fluid or liquid.

Rest a pastry bag with a 1/2-inch cut at the tip inside a glass. Transfer batter to bag. Line two baking sheets with parchment paper. Trace 1 1/2 inch circles if precision is desired.

With piping tip 1/2 inch above sheet, pipe batter into a 1 1/2-inch round, then swirl tip off to one side. Repeat, spacing rounds 1 1/2 inches apart. Drop sheet about 6 times onto counter to release air bubbles.

Bake 1 sheet at a time, rotating halfway through, until risen and just set, 13 minutes. Gently lift a shell to test doneness- if comes away from the paper easily, it's done. Let cool. Pipe buttercream on flat sides of half of the shells; top with remaining half. Wrap in plastic and refrigerate. Best eaten after 3 to 5 days of refrigeration (Martha's words, but they're amazing right away!)


slightly adapted from the March issue of Martha Stewart Living

notes: I don't have a food processor, and they turned out without one. However, I had to supplement extra flour and sugar in the first step to approximate the amount that did not pass through the sieve.

The cooking time may vary with your oven, so watch carefully! If you notice that the tops are browning before the shells are set, prop open the oven door with a wooden spoon for the remainder of the cooking time.

See lespetitsmacarons.com for a video tutorial that is very useful! Especially to know what the batter should look like.


vanilla buttercream:

1 cup butter, softened
3 1/2 cups confectioners' sugar
1 tsp milk
1 tsp vanilla extract
1/8 tsp salt

In the bowl of an electric mixer, beat butter for a minute on medium speed. Slowly add sugar on low speed until incorporated. Add milk, vanilla, and salt, and increase to medium speed. Beat for 3 to 5 more minutes, until smooth and creamy.


28 February, 2014

crème brûlée


I never thought that crème brûlée was very good. But when I found myself with a day off of work and four egg yolks to spare, I thought I would find a recipe to use them in. A simple google search led me to crème brûlée, so I thought I would give it a try! I knew the rest of my family would eat it even if I didn't like it.


As it turns out, my taste buds have changed! It is delicious. Beautifully carmelized sugar lies atop a sweet and creamy custard.


And, it is EASY. It only takes a few minutes to put together, with only five ingredients. The only issue is the cooling time, which makes people like Carl impatient! So plan ahead.


And since brûler = to burn, a blowtorch is necessary. However, I quickly realized that my mom nor my brother knew how to use it, and my dad was on a business trip. Without his blowtorch expertise, I decided to set them under the broiler to carmelize the sugar. I would recommend this option, as most people don't own a kitchen torch. This method worked, although not as beautifully as Ina's version. It also brings the whole custard to a warmer temperature, while it is meant to be cold. Yet it still tasted wonderful. Crème brûlée was the perfect Olympic-watching treat on that chilly Tuesday night.


Crème Brûlée

serves 5 to 6

1 extra-large egg
4 extra-large egg yolks
1/2 cup sugar, plus 1 Tbsp for each serving
3 cups heavy cream
1 tsp pure vanilla extract
1 Tbsp Grand Marnier

Preheat the oven to 300 degrees.

In the bowl of an electric mixer fitted with the paddle attachment, mix the egg, egg yolks, and 1/2 cup of the sugar together on low speed until just combined. Meanwhile, scald the cream in a small saucepan until it's very hot to the touch but not boiled. With the mixer on low speed, slowly add the cream to the eggs. Add the vanilla and Grand Marnier and pour into 6- to 8-ounce ramekins until almost full. 

Place the ramekins in a baking pan and carefully pour boiling water into the pan to come halfway up the sides of the ramekins. Bake for 35 to 40 minutes, until the custards are set when gently shaken. Remove the custards from the water bath, cool to room temperature, and refrigerate until firm.

To serve, spread 1 tablespoon of sugar evenly on the top of each ramekin and heat with a kitchen blowtorch until the sugar carmelizes evenly. Allow to sit at room temperature for a minute until the carmelized sugar hardens.

Source: Ina Garten's Barefoot in Paris

26 February, 2014

macarons vanilles, un et deux


Macarons. Refined, elegant, exquisite, and delicate. An iconic and delicious part of French culture. Naturally, when my mom and I spent six days in Paris, we had to try six different macarons from six different pâtisseries. The winner of our little contest? A macaron with a perfect blend of tahitian, madagascar, and mexican vanillas. 


Merci beaucoup, Pierre Hermé. 

In close second was a macaron caramel à la fleur de sel (on the right) from Ladurée.


So by the time I reached home, armed with Les Petits Macarons from the wonderful Katie and Mel, I was determined to master them. How difficult could it be? Short ingredient list, seemingly simple steps. So when I first tried the recipe at the end of January, I thought it would go well. And overall, I was pleased! Because I didn't own a sieve at the time, the unsifted flour mixture created the bumpy surface of the macarons. And I don't think I mixed the flour with the meringue long enough, because they retained some of their 3D shape, and the little tails from piping.


But the texture was perfect- the firm "skin" on the outside, and then airy but slightly chewy goodness on the inside. And my taste testers approved, which is always a good thing.


For round two, I was going to sift the flour and they were going to be smooth and beautiful, with all the same texture. NOT. 


Yes, they were smooth, but I made the individual macarons slightly smaller, and then the baking time changed, and I mixed in the flour mixture with the meringue for a longer amount this time, and something went wrong! Too dry, no chewiness. And the ones pictured above browned too quickly.


Here, the batter is clearly mixed too well. So no tails, but the height is lacking. 


I mean they were okay, but not for consumption outside of the Meese house. I didn't even bother filling them because I was so disappointed. Note how different the exact same recipe turns out! But I haven't lost hope yet- by the end of this week, I'll be back at it again. I'm determined to make the perfect batch.

Also, I'll include the recipe once I finally get it!

26 January, 2014

croque monsieur


The croque monsieur is a classic French sandwich. The warm combination of salty ham and bubbly Gruyère is just perfect between two toasty pieces of white bread. I've had it a few times over the years, and I especially love the crêpe version at Stomping Grounds. But after having an AMAZING croque monsieur at Angelina's in Paris, I just had to try it for myself.

One small but key component of the croque monsieur is the mustard. While we were in Paris, my mom and I stopped in a little shop called Maille. It was founded in 1747 (hello, before the United States...)! You could choose from several prepackaged mustards and condiments, or do a taste test and pick the size of jar you wanted. After sampling a few varieties, I decided to buy moutarde au chablis, and my mom bought a grainier type called moutarde à l'ancienne au Bourgogne chardonnay. It came out of spigots into our wonderful little jars! I used both of these types on our sandwiches.


If you were wondering if Ina's recipe measures up, it certainly does. It felt like we were right back at a little cafe in Paris :) And the recipe is not tricky at all- the part that takes the longest is making the béchamel sauce. Which was definitely a lesson in patience for me. So much whisking.... But it is definitely worth your time.


They are so beautiful with all the melty and browned cheese!


Croque Monsieur

serves 4 to 8

2 Tbsp unsalted butter
3 Tbsp all-purpose flour
2 cups hot milk
1 tsp kosher salt
1/2 tsp freshly ground black pepper
pinch of nutmeg
12 oz Gruyère cheese, grated (5 cups)
1/2 cup freshly grated Parmesan cheese
16 slices white sandwich bread, crusts removed
Dijon mustard
8 oz baked Virginia ham, sliced but not paper thin

Preheat the oven to 400 degrees.

Melt the butter over low heat in a small saucepan and add the flour all at once, stirring with a wooden spoon for 2 minutes. Slowly pour the hot milk into the butter-flour mixture and cook, whisking constantly, until the sauce is thickened. Off the heat add the salt, pepper, nutmeg, 1/2 cup grated Gruyère, and the Parmesan and set aside.

To toast the bread, place the slices on two baking sheets and bake for 5 minutes. Turn each slice and bake for another 2 minutes, until toasted. 

Lightly brush half the toasted breads with mustard, add a slice of ham to each, and sprinkle with half the remaining Gruyère. Top with another piece of toasted bread. Slather the tops with the cheese sauce, sprinkle with the remaining Gruyère, and bake the sandwiches for 5 minutes. Turn on the broiler and broil for 3 to 5 minutes, or until the topping is bubbly and lightly browned. Serve hot.

*Note: There was SO much béchamel sauce! We felt that each sandwich didn't need very much. I would recommend halving the sauce portion.

Source: Ina Garten's Barefoot in Paris